
Crafting guide
5 Easy Ways to Customise Your Yoremade Gear
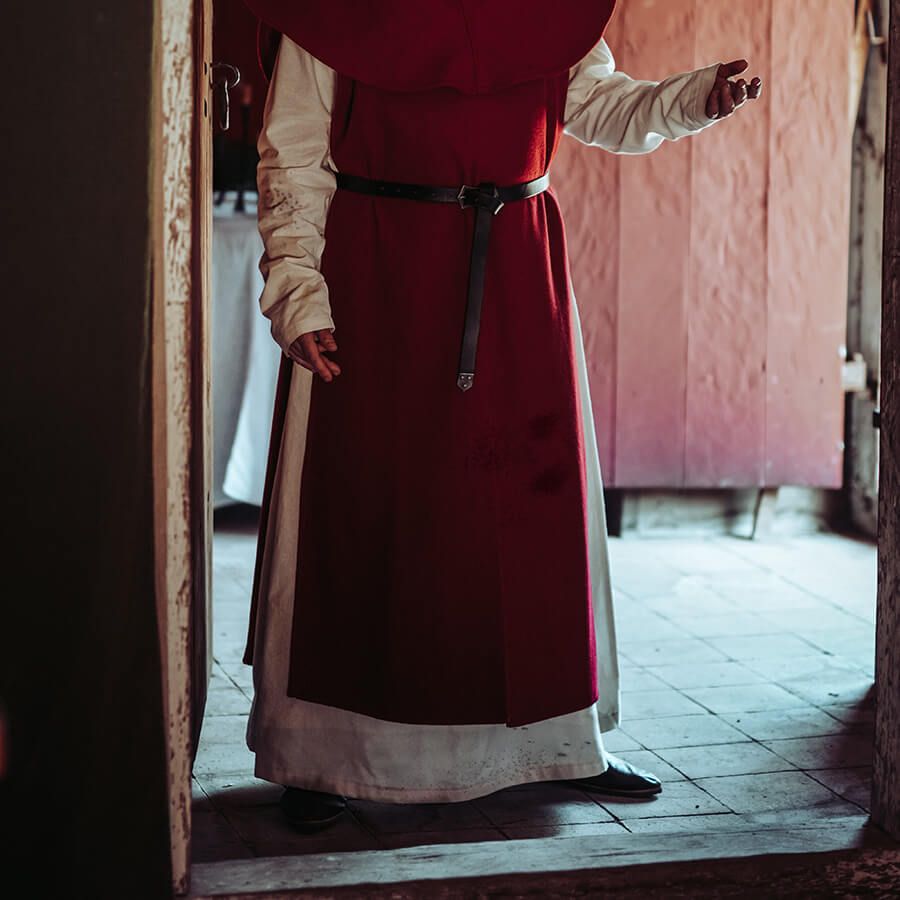
Your Yoremade by Epic Armoury kit arrives looking great straight out of the box. But the moment you make it yours, something changes. It stops being a costume and starts being your character.
Whether you're gearing up for your first event or looking to breathe new life into a well-loved set, these five techniques will help you build a look that feels genuinely unique. Best of all, none of them require a workshop full of tools or years of experience.

1. Decorative Stitching
A few well-placed stitches can turn a plain piece of leather or fabric into something that looks considered and crafted. You don't need to be a seamstress. A simple running stitch or edge stitch along a seam or cuff is enough to add color as well as real texture and personality.
For leather, pierce the holes, and use a blunt-tipped leather needle and waxed thread. For fabric, regular embroidery thread works beautifully. The quickest win: choose a colour that contrasts with your piece. A dark garment with bright stitching catches the eye immediately.


2. Trims & Embellishments
Trims are one of the most beginner-friendly ways to customise gear because the options are endless and the commitment is low. Ribbon, woven braid, fur strips, metal studs, feathers, and bone beads can all be added to cloaks, dresses, tunics, belts and bags to push your look in a specific direction. It allows you to make your look rougher, more noble, more arcane, etc.
If sewing isn't your thing, fabric glue, hot glue and rivets do the job just as well.
One tip: resist the urge to add everything all at once. Layer your accents deliberately, and leave space for character development over time.
3. Heraldry, Insignia & Group Symbols
Nothing says character quite like a symbol that belongs to you, your faction, your house, or your crew. A personal sigil painted on a surcoat or a shield, or a stamped mark on a leather accessory, instantly adds layers of story to your kit.
For beginners, acrylic paint and a simple stencil is the most forgiving method. Cheap, widely available, and very effective. Iron-on embroidery patches are another easy option for fabric pieces. Whatever you choose, we recommend sketching your design on paper first and trying it out for a while before committing it to your gear.

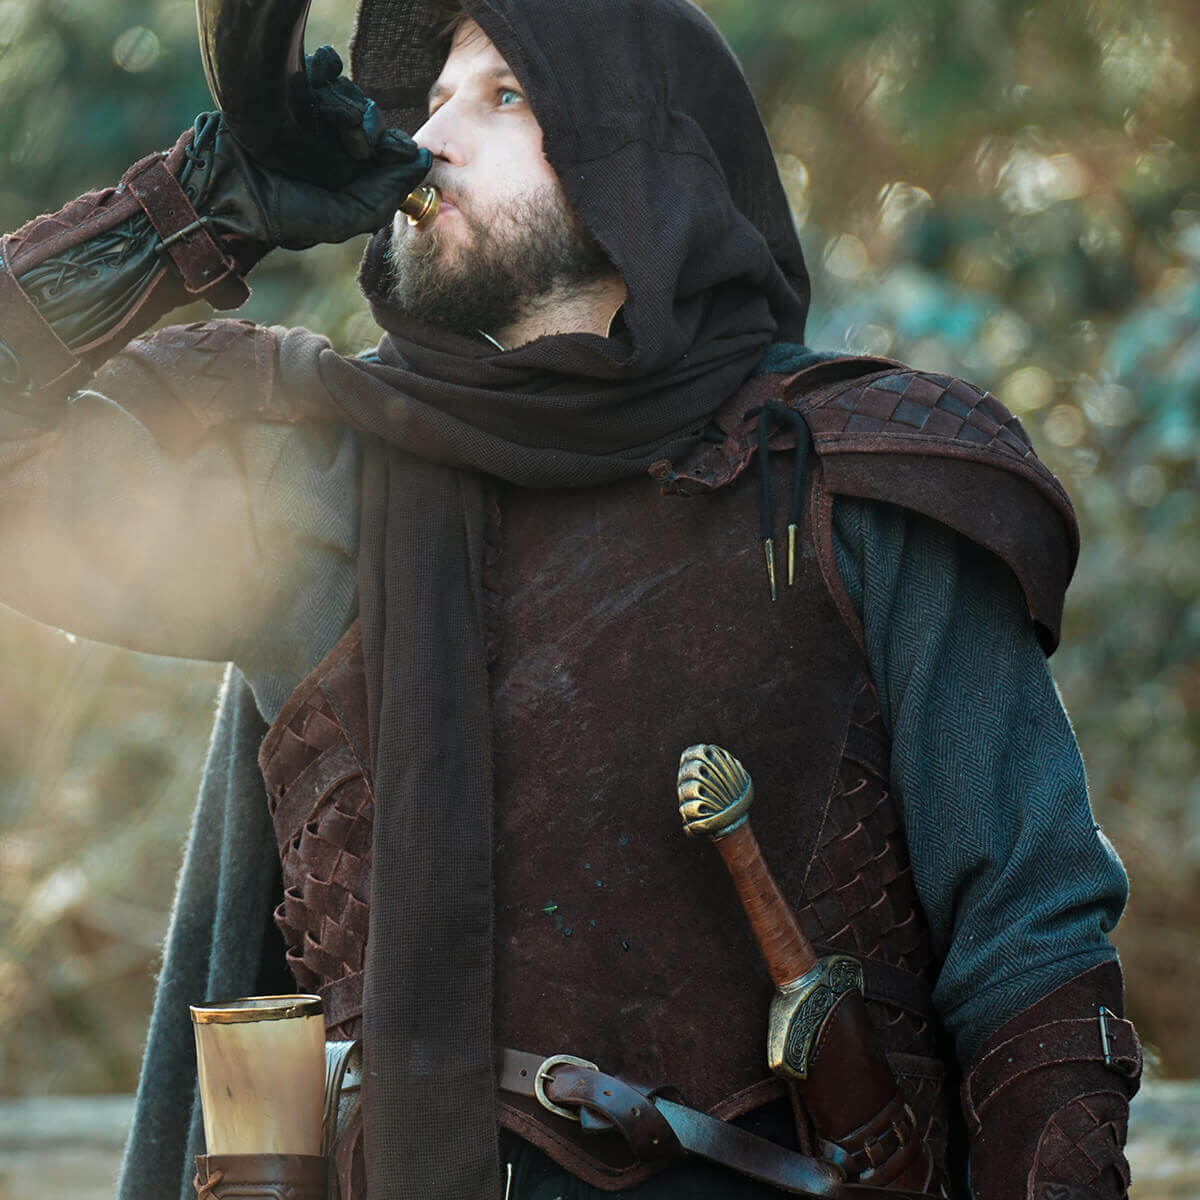
4. Weathering
New gear looks new, and sometimes that's exactly what you don't want. Weathering is the art of making your kit look like it's been somewhere and done something. Start simple: rub sandpaper along edges and high-contact areas like elbows and knees to simulate wear.
Layer brown and black shoe polish into leather for depth and age. For fabric, a strong brew of tea or coffee applied with a sponge gives a naturally faded quality. A heat gun can take things further, adding subtle scorch marks and distressing. Whatever you do, go slowly. Weathering is much easier to add than to undo!
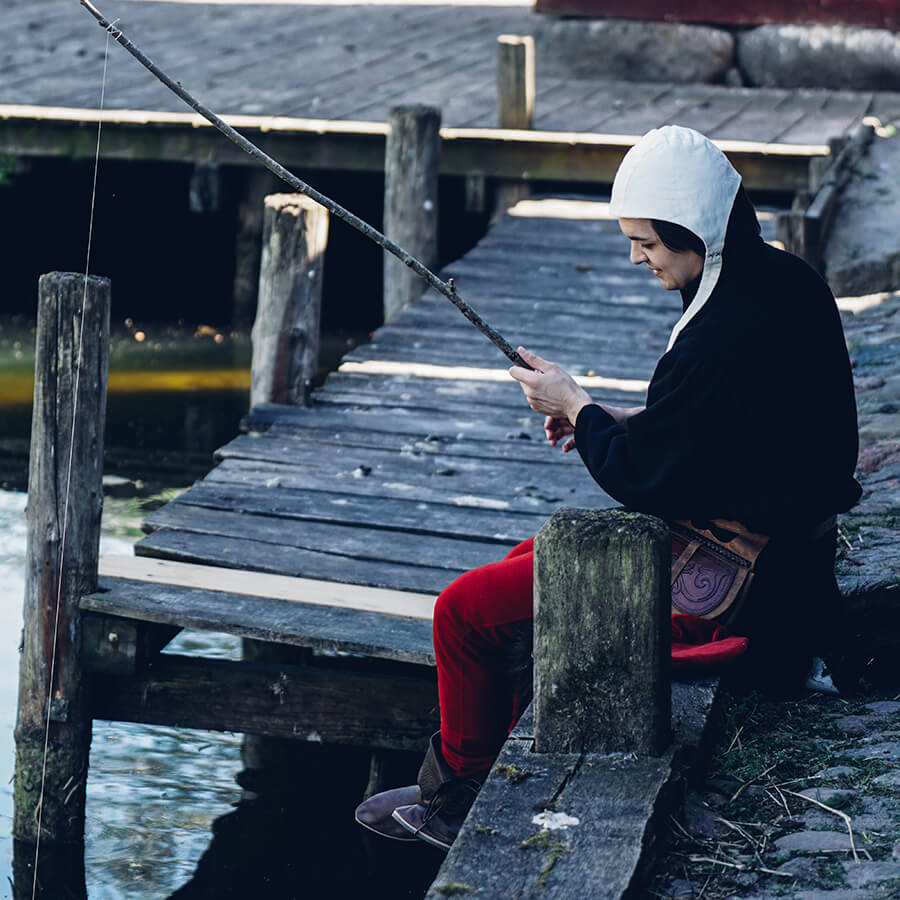
5. Live & Camp In It - The Viggo & Henry Method
When Viggo Mortensen was cast as Aragorn, he took his costume everywhere. Sleeping in it, travelling in it, living in it. The result is visible in every frame he's on screen. Henry Cavill did much the same with his Geralt gear, going on medieval-style camping trips to break it in properly. The wear, the softness, the way leather and fabrics mould to the body. None of that can be faked.
Your Yoremade by Epic Armoury gear is built to be worn, and the more you wear it, the more it becomes an extension of you rather than something you put on. Wear it to practice. Wear it around camp. Wear it on a walk in the woods. Let your kit earn its character the same way your character earns theirs.
Read more
Weathering and Aging Leather Armour
Adding age and wear to leather armor can create a sense of realism, making it look well-used in battles or adventures. Follow these steps to antique leather pieces for film, cosplay, or LARP events.
Read more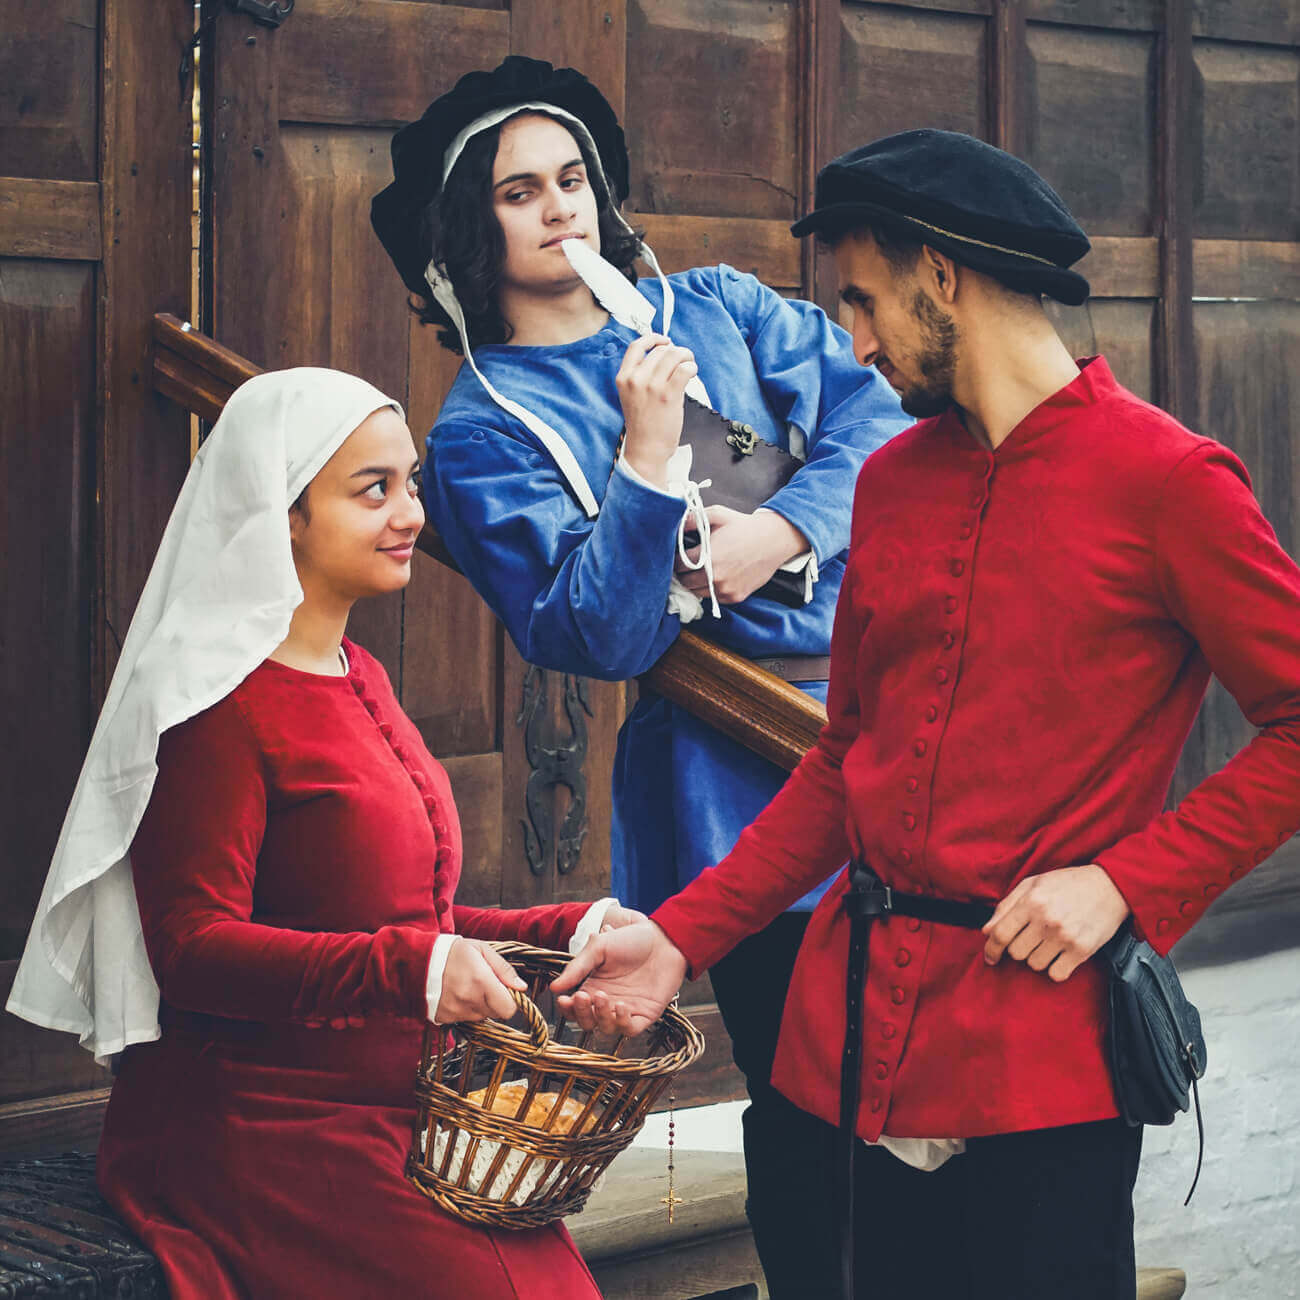
The medieval world is often imagined as drab - a wash of grey stone, brown earth, and muddy peasants. The reality was far more vivid, and far more nuanced. Bright colour was everywhere. Dyes, morda...
Read more